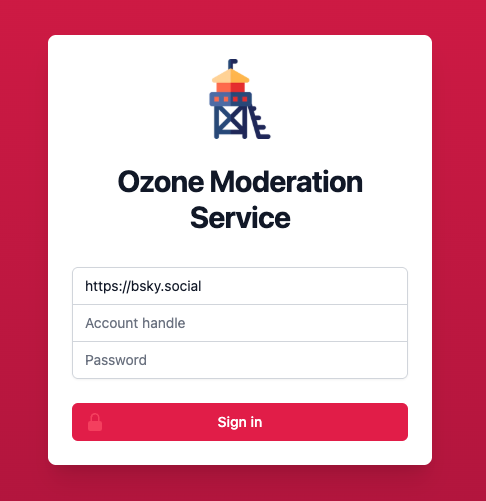
Self-hosting Bluesky's Ozone alongside other services
Shoutout to Casey Primozic (@ameo.dev) for the wonderful and detailed PDS-alongside-other-services self-hosting guide that inspired this post!

I've been tinkering with Bluesky for a few months now through several projects, and naturally I've been drawn towards self-hosting (some of) its pieces, given Bluesky's modular and open-source nature.
My first step was to self-host a Personal Data Server (PDS), but the official guide involves deploying a full set of services, including caddy as a reverse proxy, running on the host network.
Since I wanted to re-use an existing server that already had nginx running, I followed @ameo.dev's guide to set everything the PDS and, after a few tweaks, I managed to get it working.
My next step was to self-host Ozone, Bluesky's labeling application. Like the PDS instructions, Ozone's official hosting guide implies running a Docker image in the host network with caddy and postgres. With a bit of work, I adapted the steps to work with an existing nginx setup and without interfering with an existing postgres installation.
For future reference, here are the tweaks I made to deploy Ozone.
Start with the official guide #
Ozone's self-hosting guide is a great starting point to ensure your server has all the prerequisites and dependencies installed, and enough resources as well.
You will need the service account for the labeler, the domain pointing to your server and to open the firewall ports as described.
Directory structure and config setup #
I kept the directory structure similar to the one in the official guide, but instead of creating the base directory in my server's root, I put it somewhere else. This is where the data for ozone and the postgres database will live.
You can skip the caddy directory since you're already using nginx.
# Navigate to wherever you want to put
# ozone data, this is an example
cd /opt

# Create the directory structure
mkdir ozone
mkdir ozone/postgres
Skip the Caddyfile as you will not be using caddy to serve anything.
Create the postgres config file in the ozone directory that you created (not necessarily in /ozone/postgres.env if you put it somewhere else).
Then create the ozone.env file in that directory as well. The only thing to tweak is the OZONE_DB_POSTGRES_URL variable. I set it up like this (note that localhost was replaced with postgres):
OZONE_DB_POSTGRES_URL=postgresql://postgres:${POSTGRES_PASSWORD}@$postgres:5432/ozoneSince the Docker containers will share the same network (and not the host network), we can use the Postgres container name as the hostname.
Ozone container setup #
The next step in the official guide would be to download the compose.yaml file and run it. However, doing this means running everything in the host network, including caddy, which we don't want to do.
I tweaked the compose.yaml to look something like this:
networks:
  ozone:
    driver: bridge
services:
  ozone:
    container_name: ozone
    image: ghcr.io/bluesky-social/ozone:0.1
    restart: unless-stopped
    networks:
      - ozone
    depends_on:
      postgres:
        condition: service_healthy
    ports:
      - '1235:3000'
    env_file:
      - /opt/ozone/ozone.env
  postgres:
    container_name: postgres
    image: postgres:14.11-bookworm
    networks:
      - ozone
    restart: unless-stopped
    healthcheck:
      test: pg_isready -h localhost -U $$POSTGRES_USER
      interval: 2s
      timeout: 5s
      retries: 10
    volumes:
      - type: bind
        source: /opt/ozone/postgres
        target: /var/lib/postgresql/data
    env_file:
      - /opt/ozone/postgres.env
Note that:
- The
caddyandwatchtowercontainers are gone. A consequence of this is that you will need to manually update theozonecontainer when a new version is released. - The paths were adjusted to match the directory structure we created earlier (in this example,
/opt/ozone/). - Containers are set to use
ozoneas their bridge network, without being exposed to the host network. - Host port
1235is bound to container port3000, which is the port that Ozone listens on. You can change this to any other port you want, but make sure to update thenginxconfig accordingly.
Save the file as compose.yaml and run docker compose up -d to start the containers.
Create, enable and start the systemd service file as instructed in the official guide, make sure to set the WorkingDirectory to wherever you saved the compose.yaml file. That takes care of starting ozone on boot.
At this point you can verify that Ozone is online by curling http://localhost:1235/xrpc/_health. If everything is working, the only step remaining is to expose the service to the outside world through nginx.
Nginx setup #
I created a new ozone.conf file within nginx's config directory, similar to this:
server {
  listen 80;
  server_name labeler.example.com;

  location / {
      proxy_pass http://localhost:1235;
      proxy_set_header X-Forwarded-Proto https;
      proxy_set_header Host $host;

      proxy_set_header Upgrade $http_upgrade;
      proxy_set_header Connection "Upgrade";

      proxy_buffering off;
  }
}
Adjust the domain and port as needed, and note that the proxy_set_header lines are imporant to ensure websocket connections are properly handled.
Enable the config and reload nginx.
Then, to add SSL support, use certbot:
certbot --nginx -d labeler.example.comAnd you're set!
I hope this brief guide helps you set up your own Ozone labeler, and feel free to reach out on Bluesky if you have any suggestions for this post!